One of the most useful and helpful technology to Linux system administrator is Linux Logical Volume Manager(LVM), version 2 (or LVM 2). Storage technology plays an important role in improving the availability, performance, and ability to manage Linux servers. Here we can learn How to Configure LVM in CentOS 7 / RHEL 7
LVM is a widely-used technique and extremely flexible disk management scheme for deploying logical rather than physical storage. If a file system needs more space, it can be added to its logical volumes from the free spaces in its volume group and the file system can be re-sized as we wish. If a disk starts to fail, replacement disk can be registered as a physical volume with the volume group and the logical volumes extents can be migrated to the new disk without data loss.
How to Configure LVM in CentOS 7 / RHEL 7
Here we have added 5GB 2 scsi disk in Linux Virtual Machine. If you want to know How to Add a New Virtual Disk for an Existing Linux Virtual Machine
1.) Add the new 5GB 2 disk from the ESXi or vCenter
If you are not able to view newly added disk then refer the below article.
How to detect new hard disk attached without rebooting in Linux
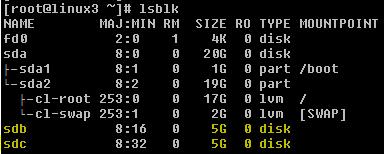
2.) You can check the newly added disk using below command
3.) Initializes the partition /dev/sdb and /dev/sdc as physical volume
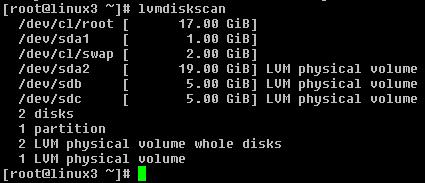
4.) Scanning for Block Devices
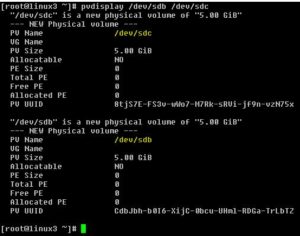
5.) Displaying Physical Volume
The pvdisplay command provides a verbose multi-line output for each physical volume. It displays physical properties (size, extents, volume group, etc.) in a fixed format
The pvscan command scans all supported LVM block devices in the system for physical volumes
6.) Create volume group name VG_Temp and add /dev/sdb and /dev/sdc partition into the group
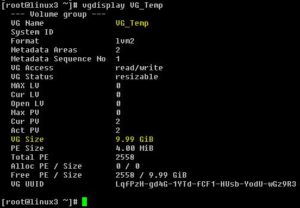
7.) Displaying Volume group
You can see both 5GB disk /dev/sdb and /dev/sdc added in Volume group. Volume group size showing 10GB.
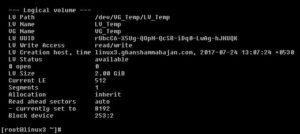
8.) Creates a logical volume called LV_Temp that uses all of the unallocated space in the volume group VG_Temp
9.) Display the created logical volumes :
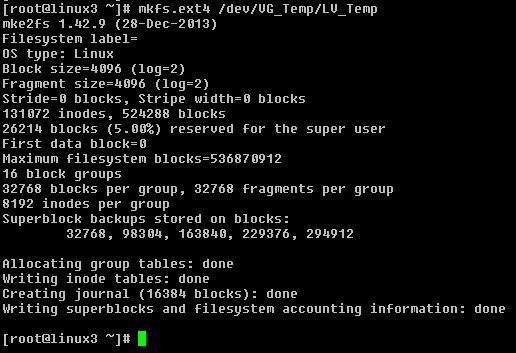
10.) Use the mkfs command to format a newly created LVM :
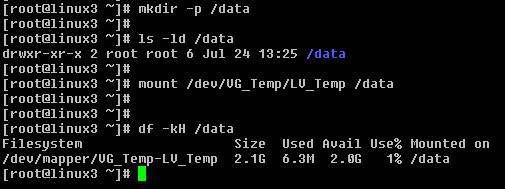
11.) Create the mount point and mount the new LVM
Thanks for reading the post 🙂 Please share and leave your comment if any.





Pingback: ciprofloxacin hcl 250 mg
Pingback: cheap vigira
Pingback: otc cialis
Pingback: naltrexone brand name
Pingback: buy chloroquine
Pingback: buy hydroxychloroquine
Pingback: generic viagra north carolina
Pingback: cialis tadalafil
Pingback: canadian pharmacy viagra legal
Pingback: buy cialis online